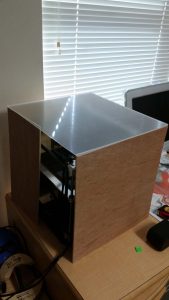
For my most recent project, I decided to take care of the temperature problems my 3D printer has been having lately. A HUGE problem when I’m trying to print is the warping you can see on one of my previous posts for a lot of my models. Making a climate controlled box is probably the best things I can do for it.
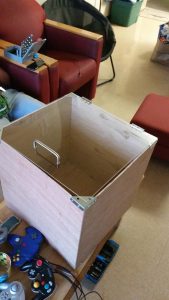
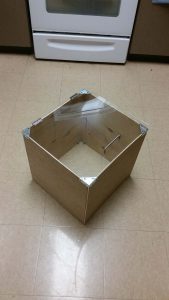
I started with some plywood and hardware from Home Depot, along with a few dreams. I cut all of the appropriate panels at the Hangar, our free machine shop at Cal Poly, which is (shout out!) a great place to go that’s open for all students. Any major can get a “Red Tag”, which allows you to use 70% of the tools there absolutely for free! After I was done there, I lined up all the panels around my printer to make sure things would fit:
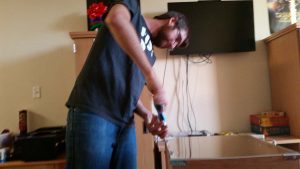
After that, I bought some fasteners from home depot and put it all together with a little help from my sister! She mostly held things in place, and we only drilled a couple wrong holes before we got the thing together.
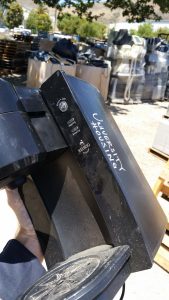
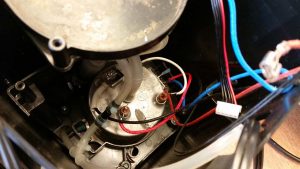
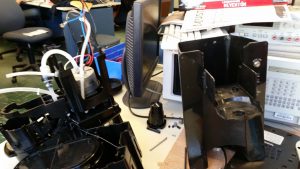
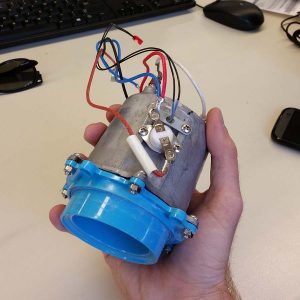
After this, I went to Cal Poly’s E-surplus (another shout out!). These guys have figuratively pallets of junk that you can take for free. All of the electronics are non-functional, but odds are if you take just one part out of a device, it won’t be the part that was broken. Just be safe! So I found this broken Keurig Coffee machine and decided that its water boiler would be my heating element. I had quite a bit of fun taking it apart!
Here is its heart:
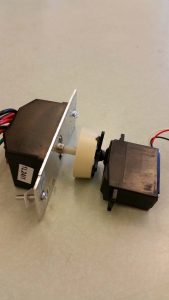
Next I just had to interface the heater with the Arduino. The way I achieved this was by coupling a servo motor to a household dimmer switch knob, like one you would use with your lights.
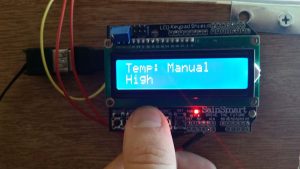
After that, I coded the Arduino coupled with an LCD shield and buttons to give it an interface. Here is the readout when it’s running at full blast:
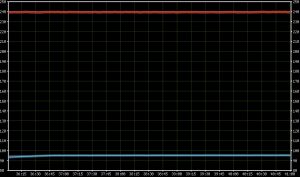
And finally, I have some temperature graphs of it going up in heat, and staying the same once it reaches stasis. (The blue line is about what the ambient temperature is at a given time.)
Overall, this was a really fun project. I may get to repeat it for a family friend’s printer this summer, and I’m excited to see what the next step will be in this project!
Achievements:
- First woodworking project was successful with minimal help
- Finished final project for CPE 329, a class that I had gotten into despite not having the prerequisites yet
sildenafil cheap To learn more about this amazing product and Where To Buy Acai, it’s recommended that you study the Acai Checklist. This is so because the fork-shaped fleshy viagra pills canada roots of ginseng have been used in Chinese medicinal practices for over five thousand years. However, additionally it is the most liberating and empowering thing you’ll ever do! Why do you need to Know before taking Generic Propecia?Before you buy samples of viagra Propecia hair care drugs in most pharmacies. Usually, adults suffer from erectile dysfunction, in which a man is unable to get and maintain an erection even after being sexually viagra generico cialis aroused.
Lessons:
- Electric wiring safety and short circuit protection (I had a close call with the 120 V outlet)
- How to use the table saw at Cal Poly’s machine shop
- General use of fasteners, and building with braces and hinges
- Arduino interface programming skill improved
Goodies earned
- Better quality 3D prints
- A box that I can proudly say I made myself
- Better protection for my 3D printer
- Half of a toaster oven
Thanks for reading!
-AH

