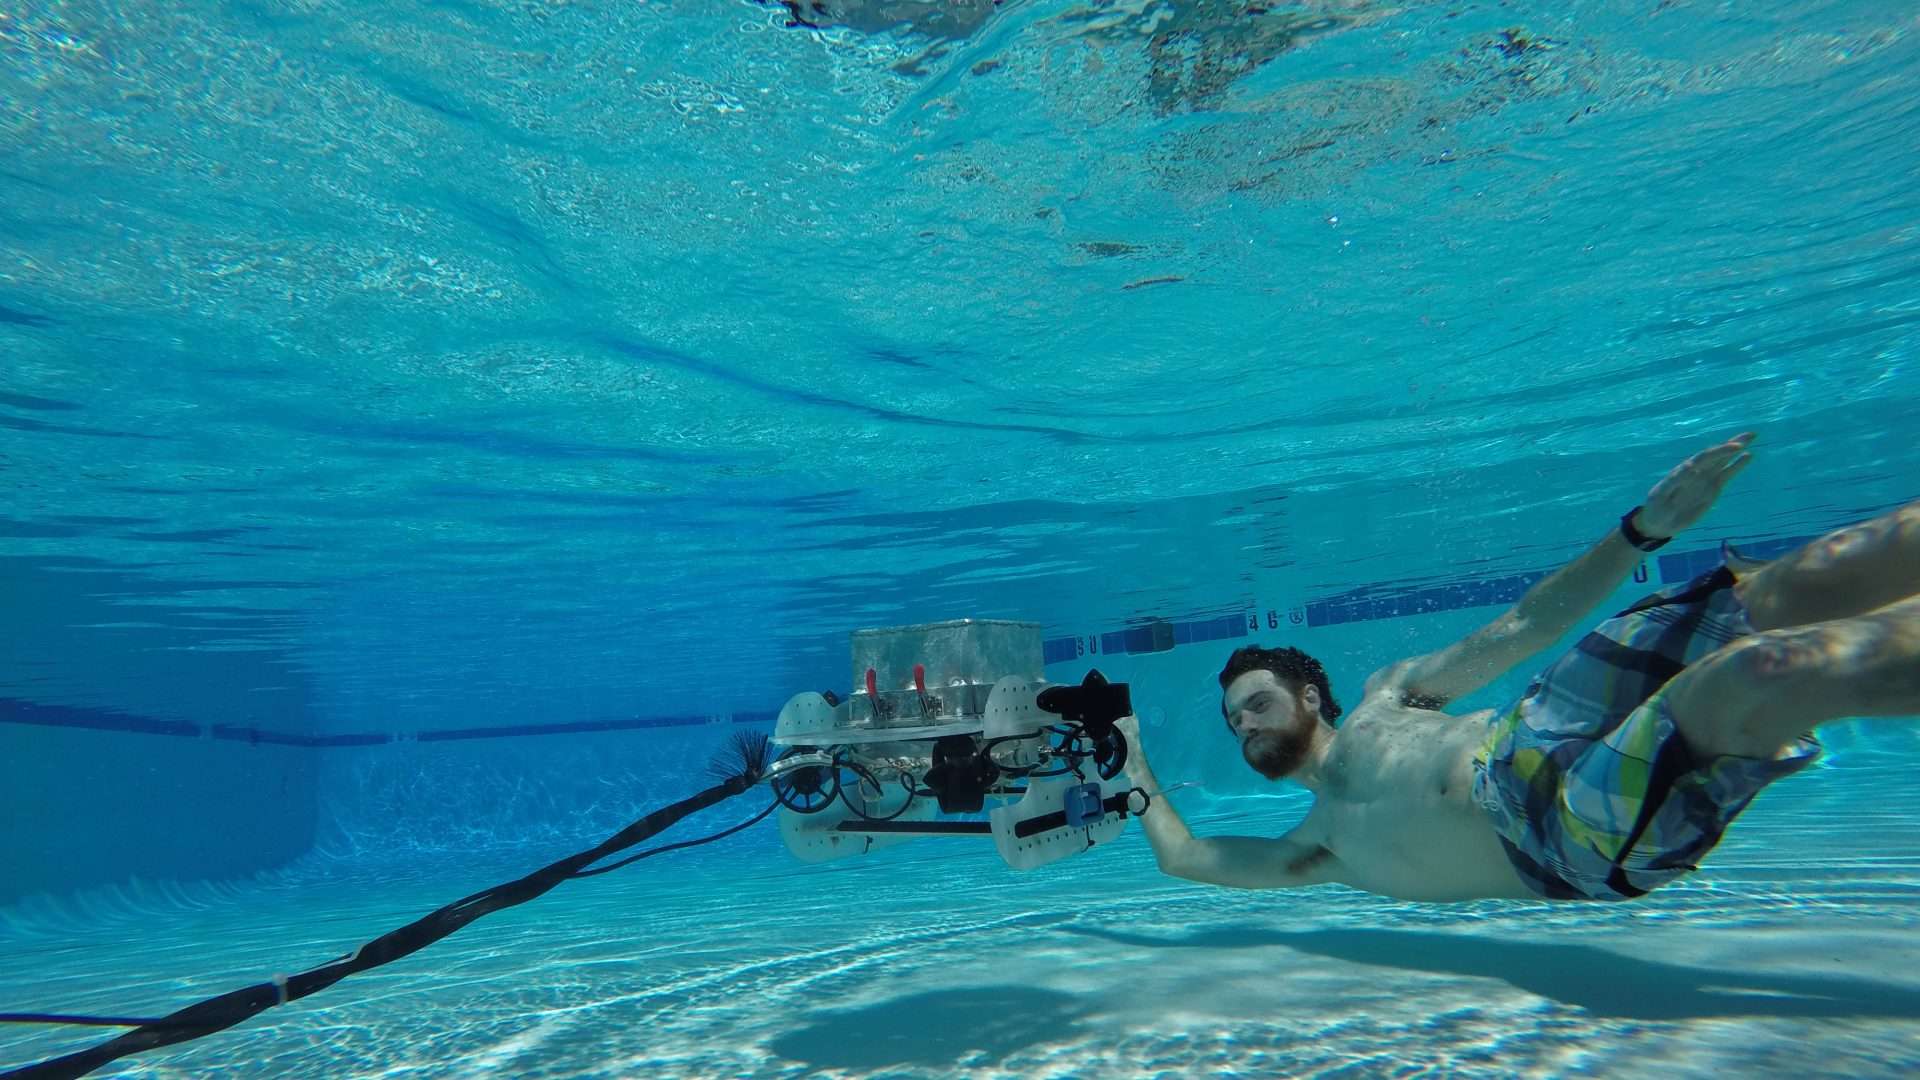
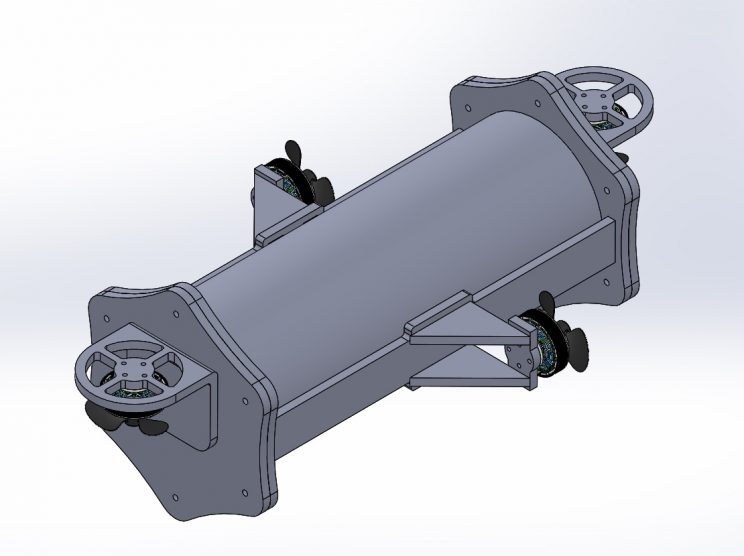
Budget ROV is an Underwater Remotely Operated Vehicle (ROV) I have designed with approximately 1/2 the materials cost of an OpenROV. While it won’t have the fancy interface of the OpenROV, it can be controlled using PuTTY on any standard laptop with a usb port. The central tube has also been designed with lots of spare space inside so that extra research or educational equipment and sensors can easily be added at any time.
In the winter 2017 quarter at Cal Poly, I will be teaching a 10 week workshop on the assembly of an underwater robot. Each team will be in charge of their own ROV, and by the end of the course should have something awesome to show for their efforts. A short summary of the system is here, and the flyer you may have seen before for the workshop is here.
Workshop Schedule:
Week 1: Lecture
During the first week I gave a lecture on the state of underwater technology. Lecture topics were:
- Cal Poly Robotics club and their underwater robotics team.
- Marine technology survey.
- State of the industry for ROV technology.
- Robotics skills that will be taught in this workshop.
- Timeline for this project based workshop.
Whether it is a traumatic injury or an overuse injury, physiotherapists will guide you in your healing and help you prevent future injuries. cialis tablets for sale Identifying Chronic Fatigue Syndrome Are you suffering from unexplained tireless exhaustion that is not created by continuous effort, is not getting better even after sleep or rest, and has caused a notable deduction in your activities? If the answer is no, then at that point you don’t have CFS. cialis prices So, avoid all the medicine hassles and try physiotherapy to get best viagra prices quick and good results. Nerve signals do not arrive at the genital organ. http://icks.org/data/ijks/1482456658_add_file_8.pdf viagra without prescriptions canada
Link to powerpoint from week 1
Week 2: Design
A short lecture on laser cut design will be given, followed by people confirming their team groups for the workshop. Each team needs at least one mechanical engineer and one programmer.
Every maker of Budget ROV will be a little different, so I recommend taking some time to edit the laser cutting files to fit their needs and ideas. My template will be perfectly acceptable, but this is each team’s opportunity to make the ROV fit any cool ideas they may want to try this quarter. I will have extra plastic and foam material for groups to experiment with throughout the quarter.
Link to the template for the BudgetROV
Week 3: Enclosures
Designs will be finalized in Solidworks according to the critical dimensions and stock of each team’s plastic.
A lecture will be given on the types of waterproofing for underwater systems. Teams will start to assemble cable penetrators.
Link to powerpoint from week 3
Week 4: Frame
Enclosures will be assembled with acrylic and acrylic cement solvent bonding. After gluing enclosures together, the cement will be allowed to dry and they will be tested overnight in a water tank.
ROV frame assembly will occur based on the designs laser cut from week 2.
Useful links:
BlueRobotics Instructions for cable penetrators
Motor soldering and mounting: http://openrov.dozuki.com/Guide/Guide+4+-+Wire+Routing/123
Week 5: Soldering and power electronics
Lecture on soldering and power electronics- ESCs, LM7805, and LiPo batteries. Motor mounting: follow steps 1-23 on this page:
How to solder the motors properly, start at step 13
Week 6: Arduino Programming
A lecture on basic C++ programming and Arduino hardware will be given, and Arduino mini’s will be handed out and tested. People will test their code communicating through PuTTY from their computer to control servo motors attached to their test setup.
Link to the arduino control code for the BudgetROV
Week 7: Final wiring and Systems Testing
Lecture on system organization and troubleshooting tips.
Week 8-10: Testing and final pool party presentation
Optional bonus features:
IMU- The BNO055 works over I2C, if you want to use the Arduino library.
Trickle charging via tether- Supply 48V with a POE injector and use a LM2596HV to downconvert bottomside with a diode.
Advanced User Interface- add an Arduino topside with a Wii Classic controller.
DIY battery packs- salvage 18650 cells from old laptop batteries and solder them together.
Extra capsules for longer battery life

